
A favorites icon is the little picture that pops up in the browser bar next to the web address. Many companies use them as an additional branding tool
The most challenging process of adding a favorites icon to your site is creating the icon in the first place. Older browsers required that the image be an actual icon-a filewith an .ico extension-and many designers did not have the necessary software on their machines to create such an image, as most graphics editors did not support the format. Ironically, today most leading editors do in fact support the format, while at the same time browsers have stopped requiring it and now support GIF and PNG images.
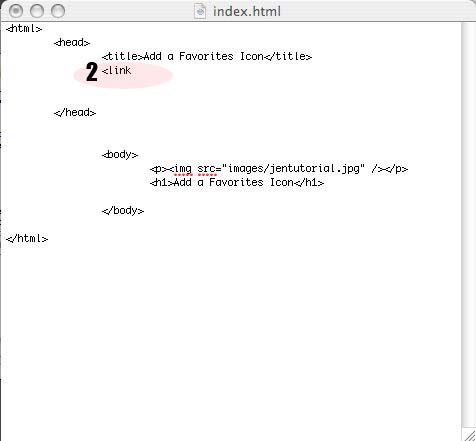
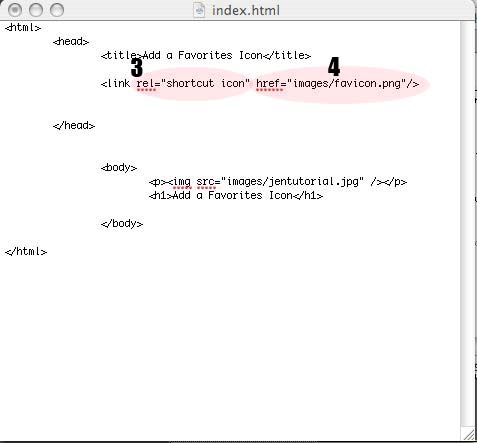
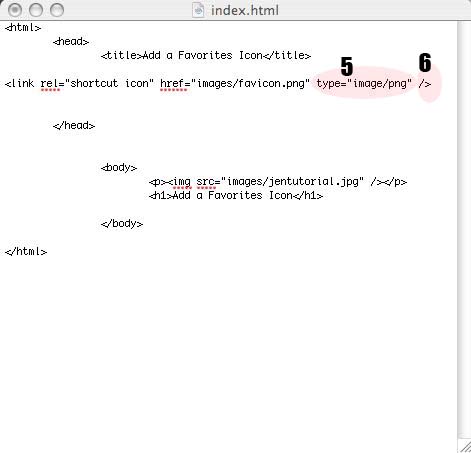
Once the image has been created, you can add it to your site by adding a link element to your page. The link element must be in the head of the document. It takes three required attributes:
If the file is an ICO, the type will be image/vnd.microsoft.icon; if a GIF or PNG, it will be image/gif or image/png, respectively.
Many browsers will detect an image called favicon.ico in the root of the Web site and use it automatically, even if no link tag is included in the document. This saves you from having to add the tag to each document, but you must create an ICO file instead of using a GIF or PNG.
This page is an excellent example of what it looks like when you've mastered this lesson.
The entirety of this lesson with exception of visual examples was provided by "HTML, XHTML, and CSS: Your Visual Blueprint for Designing Effective Web Pages" by Rob Huddleston, ISBN 9780470274361. All materials are taken directly from his tutorial with a few minor word changes by the author of this site. It is for educational purposes only and I, the author, gives complete credit to Rob Huddleston for teaching us all how to use this principle.
This is a beneficial lesson and in my opinion will help brand your site even more; not to mention make it look more legit. Good Luck!